How to change the monitoring frequency

Did you know you can control when and how often your sensors collect data? We’ll explain both options below.

1. Monitoring Frequency
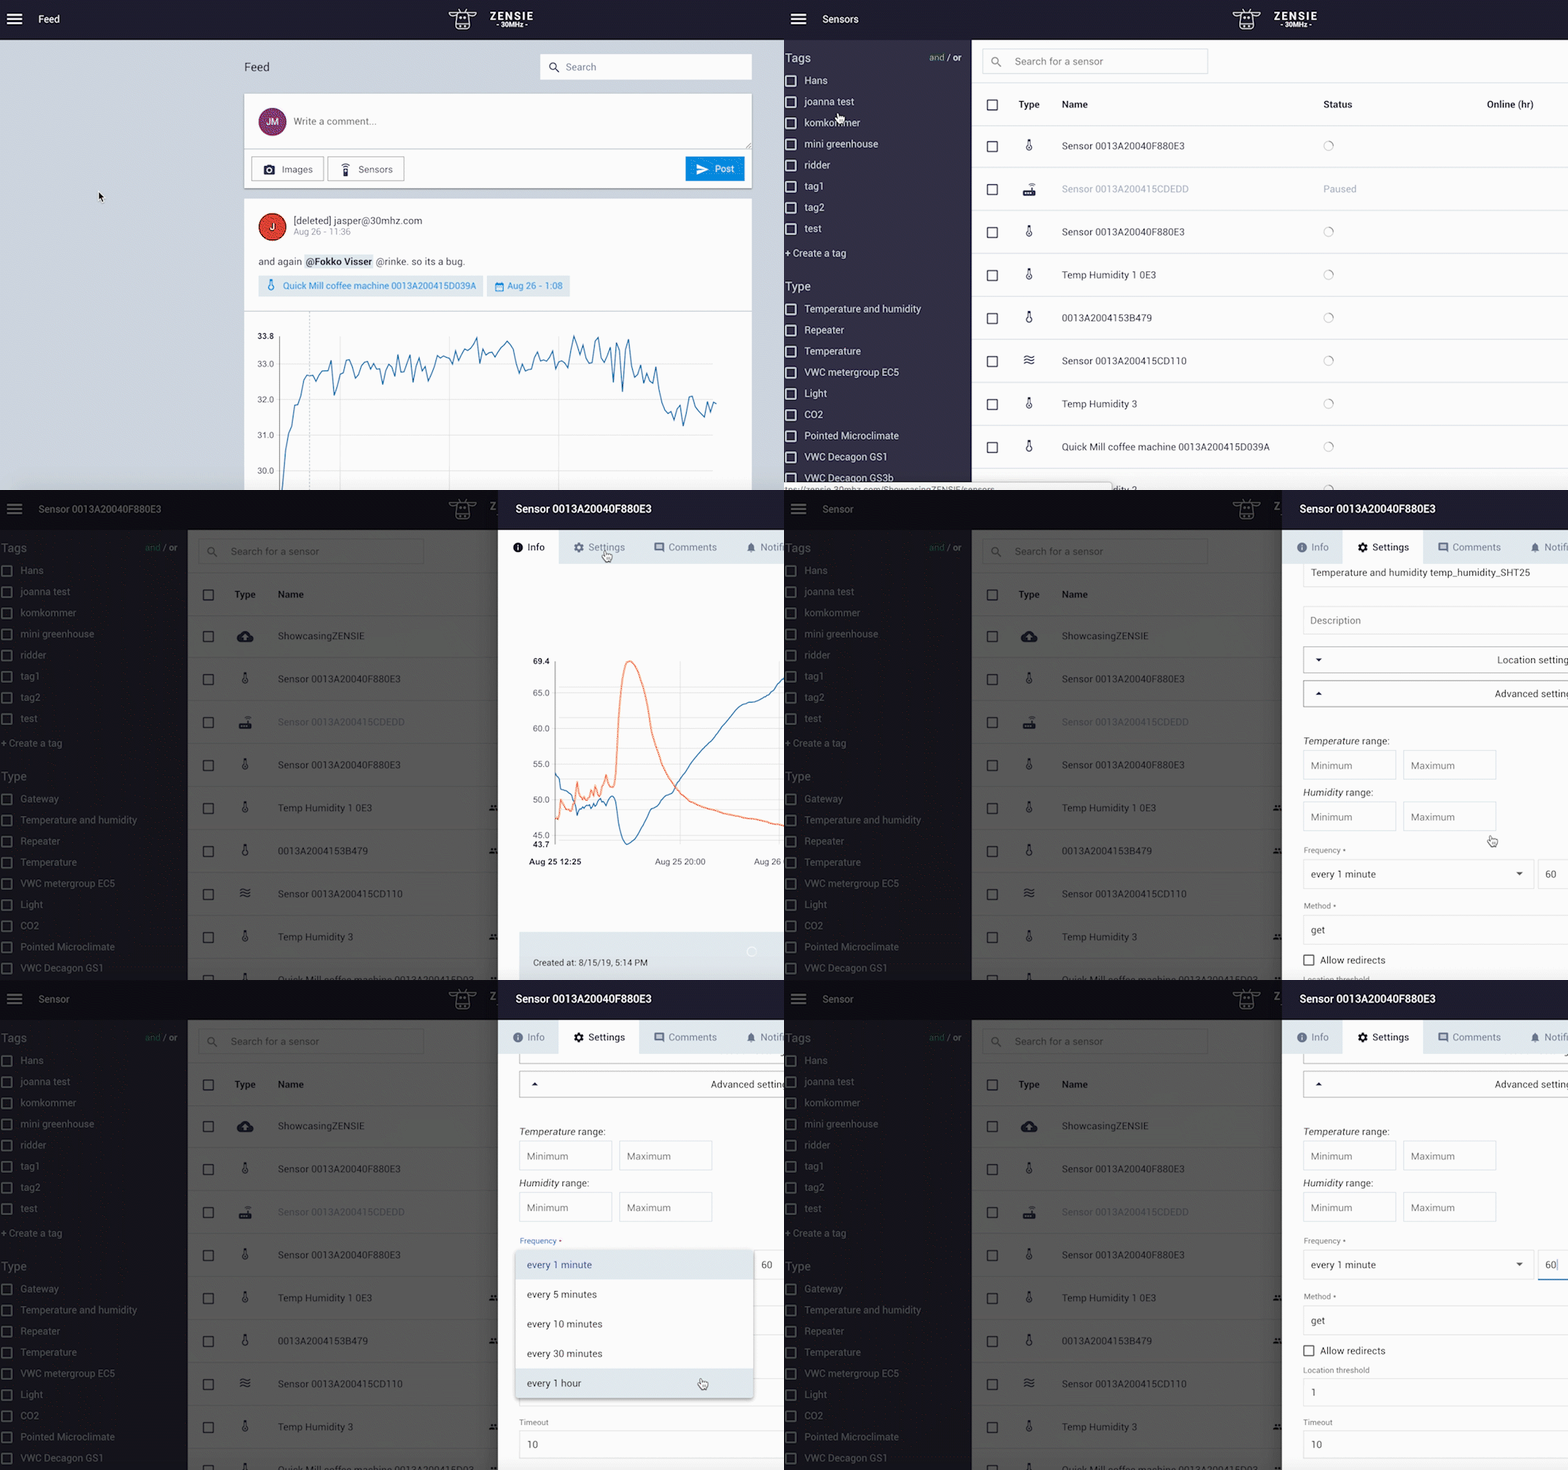
To change the frequency of the data collection, go to the Sensors view and click on a sensor. Go to Settings and Advanced Settings.
The FREQUENCY field indicates how many times within an hour, a Gateway will request data from a sensor. The default value is 60 seconds, which means data are sent every minute.
Some common frequencies you can use:
- every 5 minutes: change the frequency value to 300
- every hour: change the frequency value to 3600
- etc.
Currently, most of the sensor devices do not support monitoring frequency for less than a minute. If you try to put the frequency of such a sensor device to less than 60, you will see a warning message.
2. Scheduled Monitoring
There might be situations in which you only would like to have data from Monday to Friday, for example. To schedule this monitoring we use CRON jobs. CRON is an expression that helps you specify the times and days for collecting your data.
To create a CRON job, go to the sensors page, click on a sensor check and select the Settings tab. At the Advanced settings you will find the CRON field.
For example, if you want to collect data on weekdays (from Monday to Friday) and from 8:00 am until 17:00 then you can use the following expression:

If you are not familiar with CRON expressions you can use on online CRON converter (for example here).